

Article by
Robert Maxvill
Owner of Aquamax Sprinkler Systems, American Sprinkler Repair and Dallas Drainage Systems.
Imagine spending thousands on a fresh lawn only to watch it crisp into a $3,000 door mat because of a single missed afternoon in the July heat. It’s a common fear for North Texas homeowners, especially when heavy clay soil and strict municipal restrictions make the process feel like a high-stakes guessing game. You already know that learning how to water new sod correctly is the only way to protect your investment and ensure those fragile green squares actually take root.
We’re here to provide the precise 2026 establishment schedule you need to transform fresh turf into a deep-rooted, lush North Texas lawn. This guide explains how to navigate the latest Dallas and Fort Worth watering variances, which allow for up to 30 or 35 days of specialized irrigation despite standard twice-weekly limits. You’ll also master the “cycle and soak” method, a technique essential for managing the slow-draining soil of the DFW Metroplex. From adjusting your automatic controller to understanding the 2026 tiered water rates, we’ll give you the expert confidence to grow a landscape that lasts.
Key Takeaways
- The first hour after installation is more critical than the first day; use the “Sponge Test” to ensure the soil beneath the turf stays perfectly saturated.
- Master a precise 21-day schedule to learn how to water new sod effectively, transitioning from frequent surface misting to deep-soil saturation.
- Combat North Texas clay soil by using the “cycle and soak” method to prevent runoff and ensure moisture reaches the developing root zone.
- Identify “irrigation shadows” and use the “Tuna Can Test” to verify your sprinkler system provides uniform coverage across every square inch of new grass.
- Use the “Tug Test” to confirm root establishment before your first mow, ensuring the soil is dry enough to support the weight of a mower without damage.
The Critical First 24 Hours: Watering During and After Sod Installation
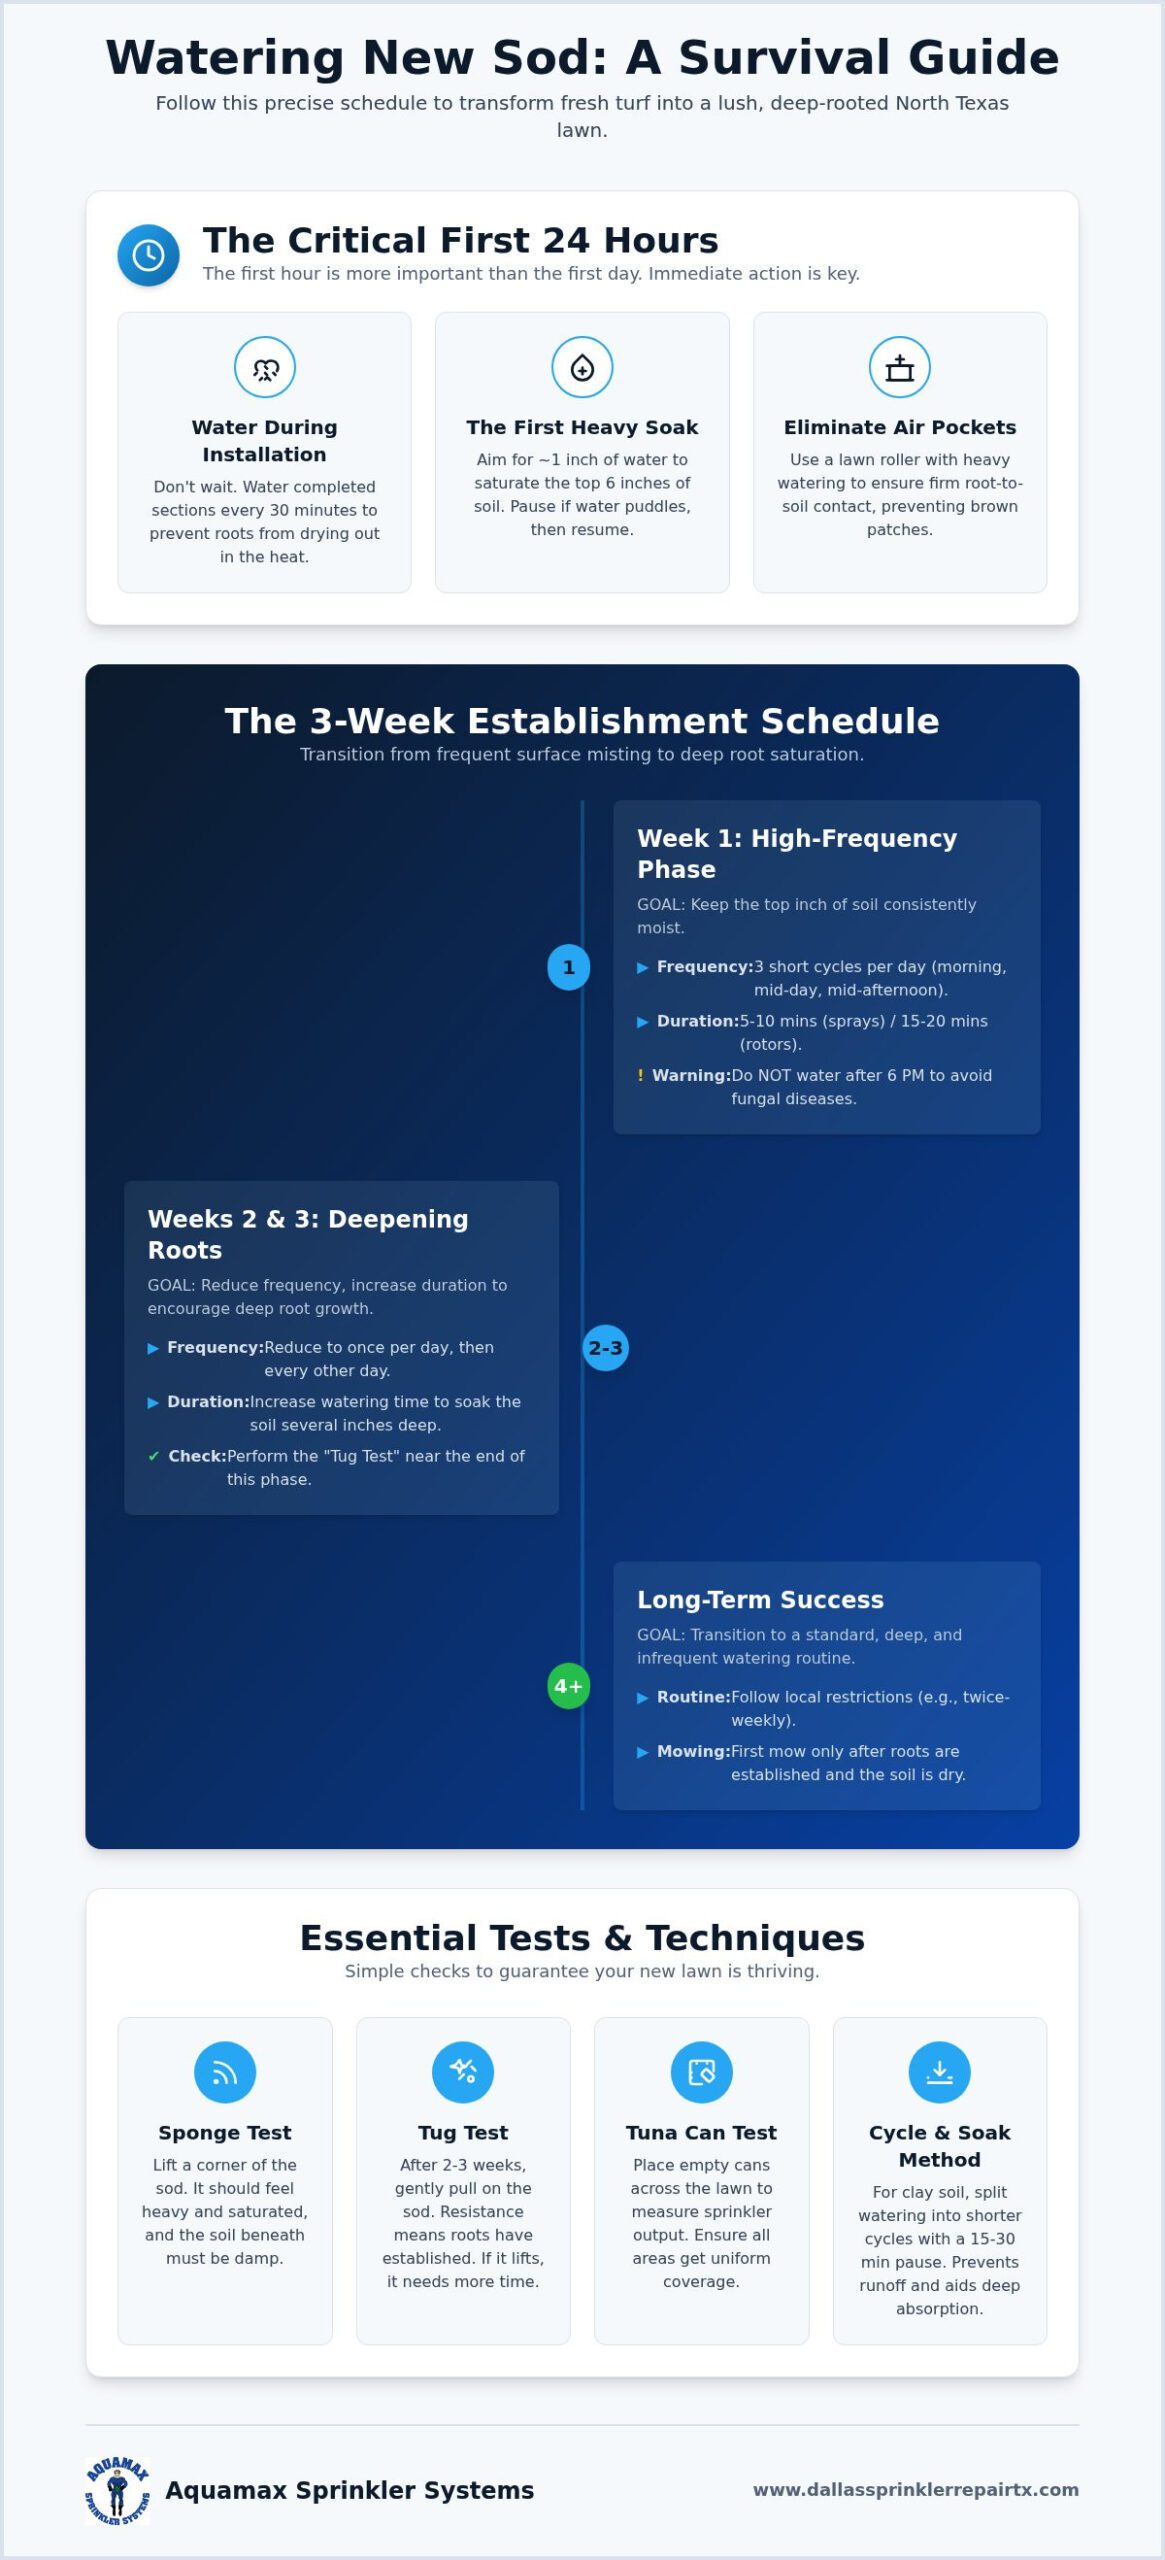
The first hour after your turf hits the ground is more critical than the first full day of ownership. Once a harvester cuts the roots, the plant enters a state of shock. In the intense North Texas heat, those exposed roots can dry out in minutes. To ensure survival, you must learn how to water new sod while you are still in the middle of the installation process. Don’t wait until the entire pallet is empty to turn on the sprinklers. If you’re working on a large area, water the completed sections every 30 minutes to keep the root zone from dehydrating.
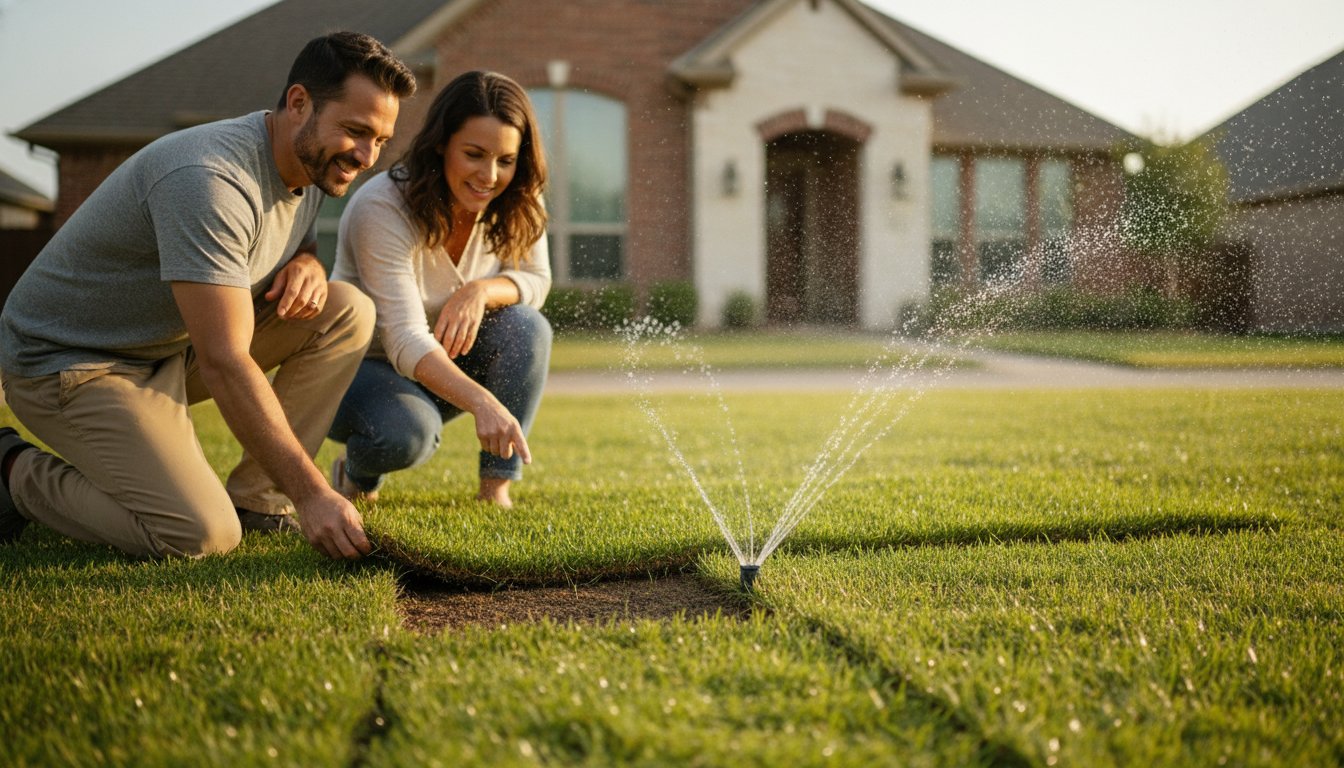
Understanding what sod is helps clarify why hydration is so urgent. It is a living, breathing ecosystem of grass and soil, not just a decorative carpet. It’s a transplant that requires immediate life support. Use the “Sponge Test” to verify your progress. Gently lift a corner of a newly laid piece. The sod should feel heavy and saturated, similar to a wrung-out sponge. The soil beneath it must be visibly damp to a depth of at least six inches. If the underlying clay is still dusty or hard, you haven’t applied enough water to sustain the roots through the afternoon.
If your system has coverage gaps or broken heads, a professional irrigation repair should be completed before the first piece of grass is laid. A failing zone during the first 24 hours can lead to permanent turf loss before the sun sets.
The First Soak Technique
Your initial watering session should be the heaviest. Aim for approximately one inch of water across the entire area. This isn’t just about wetting the blades; you’re trying to saturate the top six inches of the soil profile. In North Texas, our heavy clay soil often creates a “puddling” effect where water sits on the surface. If you see standing water, stop and wait 15 minutes for it to absorb before continuing. This prevents the sod from floating or shifting while ensuring the moisture actually reaches the destination.
Eliminating Air Pockets
Water plays a mechanical role during the first 24 hours by settling the sod firmly against the soil surface. Air pockets are the primary cause of localized root death and those frustrating “brown patches” that appear in the first week. When air is trapped between the turf and the ground, the roots dry out and die because they cannot draw moisture from the earth. Using a lawn roller in conjunction with your first heavy watering session is the best way to maximize contact. The weight of the water combined with the pressure of the roller forces out the air and locks the roots into their new home.
The 3-Week Establishment Schedule: From Moist to Rooted
Following the initial soak, your lawn enters a high-stakes transition period. Mastering how to water new sod requires shifting your strategy as the roots begin to knit into the soil. In the North Texas climate, where summer temperatures frequently exceed 100°F, a “set it and forget it” approach will lead to failure. You must guide the grass from a state of total dependence on surface moisture to a resilient, deep-rooted system. This 21-day window is the most critical time for your new landscape.
Week 1: The High-Frequency Phase
During the first seven days, your goal is to keep the sod and the immediate inch of soil beneath it consistently moist. We recommend three short watering cycles per day: early morning, mid-day, and mid-afternoon. This frequency prevents the grass blades from wilting under the intense Texas sun. However, do not water after 6:00 PM. Wet grass sitting in humid overnight conditions is an invitation for fungal diseases like Gray Leaf Spot. For fixed spray heads, five to ten minutes per cycle usually suffices; rotary heads may require 15 to 20 minutes to deliver the same volume.
According to experts at the Texas A&M AgriLife Extension, newly installed sod must never be allowed to dry out completely during this first week. If you notice the seams between pieces beginning to gap or the edges turning a dull grey-green, your frequency is too low. If your current system cannot handle these specific timing requirements, a professional sprinkler installation or controller upgrade can automate this delicate process for you.
Weeks 2 and 3: Deepening the Roots
As you enter the second week, begin reducing the frequency while increasing the duration of each session. Transition to once-daily watering, preferably in the early morning. By week three, move to every other day. This “tough love” approach forces the roots to grow deeper into the clay soil in search of moisture. Pay close attention to the perimeter of the yard and areas near concrete driveways or sidewalks. These “hot zones” absorb and radiate heat, causing the sod seams to dry out much faster than the center of the lawn.
Use the “Tug Test” to monitor your progress throughout this phase. Around day 14, gently pull on a corner of the sod. If you feel significant resistance, the roots have successfully anchored into the soil. If the piece lifts easily, continue the daily watering schedule for three more days before testing again. Once the sod is firmly attached, you can safely transition toward the standard twice-weekly schedule permitted by most North Texas municipal regulations.
Navigating the North Texas Climate: Heat, Clay, and Wind
Successful landscaping in the DFW Metroplex requires more than just a schedule. It requires an understanding of the region’s aggressive environmental factors. When you are learning how to water new sod, you are essentially fighting a three-front war against dense Blackland Prairie clay, high wind speeds, and intense solar radiation. These local conditions dictate a strategy that differs significantly from national lawn care advice.
The primary hurdle is the Dallas Clay Challenge. Our soil is composed of fine particles that pack together tightly, leaving very little room for water to penetrate. In its dry state, this clay is nearly as hard as concrete. Once you begin watering, the surface saturates quickly, but the moisture often fails to reach the deeper root zone. Instead, the excess water simply sheets off the lawn and into the street. This makes traditional, long watering cycles ineffective and wasteful for new turf establishment.
The Cycle and Soak Method for Clay Soil
To combat runoff, we utilize the “cycle and soak” method. Instead of running a zone for 20 continuous minutes, you break the session into three shorter bursts of six or seven minutes, with an hour of rest between each. This allows the clay time to absorb the moisture before the next application begins. This technique is a fundamental component of effective yard drainage solutions Dallas homeowners use to prevent erosion and standing water. As the moisture content shifts, our local clay soil physically expands and contracts, which can create structural gaps if the area is allowed to dry out completely.
Wind is another silent killer of new sod in North Texas. High wind speeds, particularly during spring and summer, accelerate a process called “wicking.” This occurs when dry air moves across the grass blades, pulling moisture out of the plant faster than the shallow roots can replace it. On a windy day, even a damp lawn can see its blades curl and turn gray within hours. To protect your investment, you must also navigate 2026 local water restrictions. While Dallas, Fort Worth, and Plano typically enforce twice-weekly limits, all three cities offer variances for new landscapes. In 2026, Dallas homeowners can apply for a 35-day exemption, while Fort Worth and Plano offer 30-day variances to ensure your grass survives the establishment phase.
Summer vs. Winter Sod Care
Timing your installation changes your hydration tactics. In the peak of July, managing heat stress may require a supplemental 15-minute afternoon mist to cool the soil temperature. Conversely, installing dormant sod in January doesn’t mean you can ignore the hose. Dormant grass still needs moisture to prevent desiccation of the root system during dry winter spells. For more specific advice on which varieties handle these seasonal swings best, consult our guide on the Best Sod for North Texas to match your irrigation capabilities with the right turf type.
Troubleshooting Irrigation Issues: Why Your New Sod Might Be Dying
Even the most rigorous schedule can’t compensate for a failing irrigation system. If you notice localized wilting or brown patches while the rest of the yard is thriving, you’re likely dealing with a mechanical failure rather than a scheduling error. Knowing how to water new sod is only half the battle; you must also ensure your hardware is capable of delivering the volume required to reach those deep soil layers. Identifying these issues early is the only way to prevent a total loss of your investment.
Construction debris often clogs nozzles during the soil preparation and grading phase. A single grain of sand or a small pebble can distort a spray pattern, creating an “irrigation shadow” where the grass receives zero moisture despite the system running. Before you lay a single piece of turf, schedule a professional sprinkler system tune-up. This ensures every head is pressurized, cleaned, and positioned to provide total coverage across the new root zone.
To verify your system’s performance, use the “Tuna Can Test.” Place several empty cans across the new sod and run your zones for 20 minutes. If you find significant variations in water depth between cans in the same zone, your system is miscalibrated. You need uniform distribution to prevent “hot spots” that can kill fresh turf in less than 48 hours during a North Texas summer.
Spotting Sprinkler Coverage Gaps
Visually inspect your zones to confirm “head-to-head” coverage. The water from one sprinkler head must reach the base of the next one in the sequence. Leaning heads are a common culprit in DFW; as our heavy clay soil shifts, it can tilt the riser, causing the water to shoot over the target area. Additionally, ensure your system isn’t “misting.” In high-wind areas like Plano or Frisco, fine mist evaporates or blows away before it hits the ground. You need heavy droplets that can cut through the wind and reach the soil.
Calibrating Smart Controllers
Modern 2026 irrigation controllers use ET (Evapotranspiration) data to automate watering based on real-time weather conditions. Set up a dedicated “New Sod” program that utilizes your municipal variance to bypass standard twice-weekly restrictions. If you discover a broken pipe, a faulty valve, or a zone that won’t engage, immediately call for irrigation repair. A three-day delay in fixing a broken zone can result in permanent turf death. Don’t let a minor mechanical glitch ruin your new landscape. Schedule a professional system diagnostic to ensure your irrigation is ready for the critical establishment phase.
Long-Term Success: Transitioning to a Permanent Routine
Reaching the end of the 21-day window is a significant victory, but the work isn’t over. Your lawn is no longer a fragile transplant; it is now a permanent part of your property. However, the transition from establishment to a standard maintenance schedule is where many homeowners falter. Understanding how to water new sod for the long term involves moving away from daily misting and toward deep, infrequent saturation. This encourages a resilient root system capable of surviving a brutal North Texas August.
The “Tug Test” remains your most reliable milestone for this transition. By the end of the third week, you should be unable to lift the sod from the ground. If the turf feels like a solid, immovable carpet, the roots have successfully integrated with the underlying clay. At this stage, you can safely return to your city’s standard watering schedule. In 2026, most North Texas municipalities like Dallas and Plano permit twice-weekly watering, which is sufficient for an established new sod installation provided the system is calibrated correctly.
The First Mow and Beyond
Timing your first cut is as much about soil moisture as it is about grass height. Wait until the blades reach a height of three to four inches. Before you start the engine, ensure the soil is dry enough to support the weight of the mower. In our dense clay, heavy equipment can easily create deep ruts that damage the young root structure if the ground is still saturated. If you see your feet leaving prints in the grass, it is still too wet to mow.
Set your mower height to its highest setting for the first few sessions. Follow the “one-third rule” religiously; never remove more than one-third of the grass blade at a time. Cutting too deep shocks the plant and forces it to divert energy away from root growth to repair the blades. This is especially dangerous during the peak heat of summer when the plant is already under significant stress.
Annual Irrigation Maintenance
As your sod settles over the first year, the physical profile of your yard may shift slightly. This is a natural result of the clay soil’s expansion and contraction cycles. These subtle shifts can cause sprinkler heads to lean or sink, leading to uneven coverage. We recommend bi-annual system inspections to ensure your irrigation remains efficient and your coverage stays uniform. A head that was perfectly level in the spring might be tilted by October, creating dry spots that threaten your lawn’s health.
A professional evaluation can identify clogged nozzles or pressure issues before they lead to turf death. If you want to ensure your investment thrives for years to come, contact Aquamax Sprinkler Systems for a professional system evaluation today. Our licensed technicians will verify that your zones are perfectly balanced for your specific landscape needs, giving you peace of mind that your lawn will stay lush and green.
Protect Your Investment with Professional Precision
Mastering how to water new sod is the difference between a thriving green landscape and a costly replacement. By following the 21-day transition from frequent surface misting to deep-soil saturation, you ensure your turf survives the unique challenges of the North Texas climate. Success depends on more than just timing. You must also account for the heavy clay soil and the mechanical reliability of your irrigation system to avoid dry spots and root rot.
Since 1998, Aquamax Sprinkler Systems has served the DFW community as licensed and insured irrigation experts. We specialize in custom sod and drainage solutions that work with our local environment rather than against it. Don’t leave your new lawn’s survival to chance or a faulty sprinkler head. Schedule a Professional Sprinkler Tune-Up to Save Your New Sod and get the peace of mind that comes with expert calibration. Your new lawn is a vital investment in your property’s value. With the right care and a perfectly tuned system, it will remain lush and resilient for years to come.
Frequently Asked Questions
Can I overwater new sod in Dallas?
Yes, you can overwater new sod, especially in the dense clay soil found across Dallas. While the surface needs to stay moist, saturated soil that never drains deprives roots of oxygen and leads to root rot. If the sod feels mushy or you see mushrooms sprouting, reduce your watering duration immediately. Proper drainage is essential to prevent the grass from drowning before it can establish a deep, resilient root system.
How long should I run each sprinkler zone for new sod?
Run times depend on your specific equipment and the time of day. Fixed spray heads typically require 5 to 10 minutes per cycle, while rotary heads need 15 to 20 minutes to deliver the same volume of water. Use the “cycle and soak” method to break these times into shorter bursts. This approach ensures the water penetrates the top six inches of soil rather than running off into the street.
Is it okay to water new sod at night?
Avoid watering new sod at night. Wet grass blades sitting in humid, dark conditions are highly susceptible to fungal diseases like Gray Leaf Spot. Schedule your last cycle for the mid-afternoon, ideally finishing by 5:00 PM. This allows the blades to dry before sunset while keeping the soil underneath moist through the night. Early morning remains the best time for your primary deep soak.
Why is my new sod turning yellow even though I’m watering it?
Yellowing is often a sign of either overwatering or poor soil contact. If the ground is swampy, the roots are likely suffocating from a lack of oxygen. Conversely, if the sod isn’t pressed firmly against the soil, air pockets will dry out the roots regardless of how much you water. Check for “spongy” areas and use a lawn roller to ensure the roots are touching the damp earth to facilitate moisture uptake.
When can I walk on my new sod?
Limit foot traffic on your new lawn for the first two to three weeks. Walking on fresh sod can compress the soil and create ruts, which disrupts the delicate rooting process. You can safely walk on the grass once it passes the “Tug Test,” meaning you can’t pull up the corners. Even then, avoid heavy activity or allowing pets to run on the area until after the first successful mowing.
Do I need to fertilize new sod while watering it?
Most new sod is heavily fertilized at the farm before it is harvested. Adding more nitrogen during the first three weeks can actually burn the fragile new roots. Focus entirely on how to water new sod correctly during this initial establishment phase. Wait at least 30 to 60 days, or until the grass has been mowed twice, before applying your first round of local fertilizer to support long-term growth.
What should I do if it rains right after I lay new sod?
Rain is a welcome supplement, but it doesn’t always replace your irrigation schedule. Check the moisture level by lifting a corner of the sod; a light shower might only wet the blades without soaking the soil beneath. If North Texas sees a heavy downpour, turn off your automatic controller to prevent oversaturation. Resume your regular schedule once the top inch of soil begins to feel dry to the touch again.
How do I know if the water is reaching the roots through the clay soil?
The most reliable way to check moisture penetration is to lift a corner of a sod piece and poke the soil with a screwdriver or soil probe. The tool should slide easily into the ground, and the soil should be moist at least four to six inches deep. If the screwdriver hits hard, dry clay just two inches down, you need to increase your watering duration or add more frequent “cycle and soak” sessions to penetrate the Blackland Prairie clay.